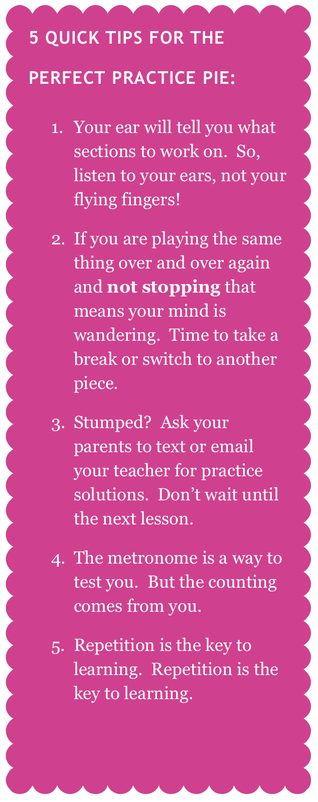
 A way to practice well and not feel like you’re dying from boredom (we’ve all been there!) Serves: 1 student (and 1 teacher by default) Total Time: 45 minutes Prep Time: 5 minute warm-up, 10-minute break Ingredients
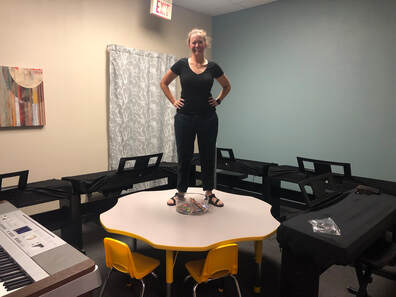
Directions 1. Open teacher’s notes FIRST to see what will be due in the upcoming week(s). 2. Plan your practice session, set a goal for each piece, write down if you feel you might forget. For example: “I want to play all the right rhythms in this piece” or “I want to memorize these four measures today”. 3. Warm-up: scales/arpeggios/five-finger patterns. This is your opportunity to check hand position. Are fingers curved? Do you sound good? Warm-up with three different tempos: slow-medium-fast 4. Practice your first piece/assignment. Star with pencil any place that are hard to do. Spend 5-10 minutes fixing these starred sessions. 5. With each piece, check the goal you set in step #2. Can your goal be accomplished today? If not, can your goal be accomplished tomorrow? 6. If you do not complete a goal, write a note down in your practice journal to complete tomorrow. 7. After finishing your first piece, take a five-minute break. Even if you don’t feel tired, you were probably focusing for 10-15 straight minutes. That’s a lot. 8. Now you are about 15-minutes into your practice. Start your second piece, repeat steps #2-6. 9. Take another 5-min break. 10. It has now been 35 minutes. At this point of time, go BACK and review pieces #1 and #2. See if your short-term memory has learned anything. Did your pieces improve today? If not, no worries, you will have to work on it again tomorrow (with a different strategy than today since today did not work). Spend 5 minutes reviewing anything you might have forgotten over your 5-min break to reinforce your memory. 11. Now you are at the 40-minute mark! And you only did two pieces so far! But it has been very productive and by writing down what you want to do tomorrow, you will remember better what you learned today. Spend the last five minutes for personal pleasure (we often forget we are doing piano for fun). Explore a new piece that your teacher has assigned, improvise, write your own composition, or perhaps you have saved the last five minutes to revisit a piece you played before. If this is the case, make sure to make improvements to this piece. How can you be more artistic and interesting? 12. Come to next lesson…maybe you will sound so good that your teacher will actually make you a pie??? (Not Ms. Ellie. You don’t want her pies. They’re disgusting.)
0 Comments
MIDI for Kids is a program that puts kids right in the middle of music making. Students will learn about keyboard geography, notation, and other keyboarding skills, of course, but the real joy comes from playing with classmates and creating ensembles!
Students will learn about the different parts of an ensemble: the melody, bass line, percussion, and any additional parts. Everyone will learn how to play together to make a meaningful product. Before we play the parts ourselves, we will play along with a recorded sequence that we can isolate different parts and adjust tempo. Since we play on keyboards we can change the instrumentation to make a more authentic sounding ensemble. Students learn to be critical listeners of their work as well as other recorded music. They will be able to discern if the melody is too loud, the percussion is behind the beat, or if the bass line is too overpowering. The MIDI for Kids process is a multi-year journey to discovering the joy of making music. Using these skills prepares students to continue their study of piano as well as other instruments. For more information, please contact Robin Coolidge. |
Archives
July 2024
Categories
All
|
|
|
MUSIC SO SIMPLE
|


 RSS Feed